Frames
Frames in YouDesign help organize your content and are essential for exports and presentations. They allow you to navigate through your board like slides in PowerPoint, offering flexibility in grouping, resizing, and customizing frames for a more structured presentation.
Frames in YouDesign help you logically group content for your target audience. They are essential for exporting content and using in Presentation Mode, allowing you to navigate from one frame to the next, much like in PowerPoint.
Adding Frames
To add a Frame to your board:
- Click the Frame icon in the control bar to view available options.
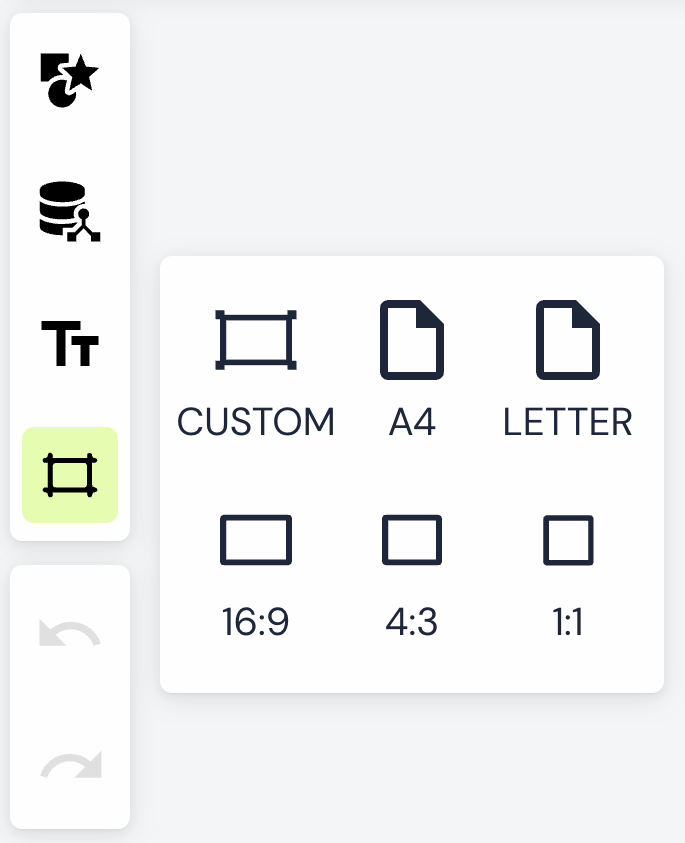
- Click on a frame to add it to the board. The selected frame will automatically be added next to the last frame.
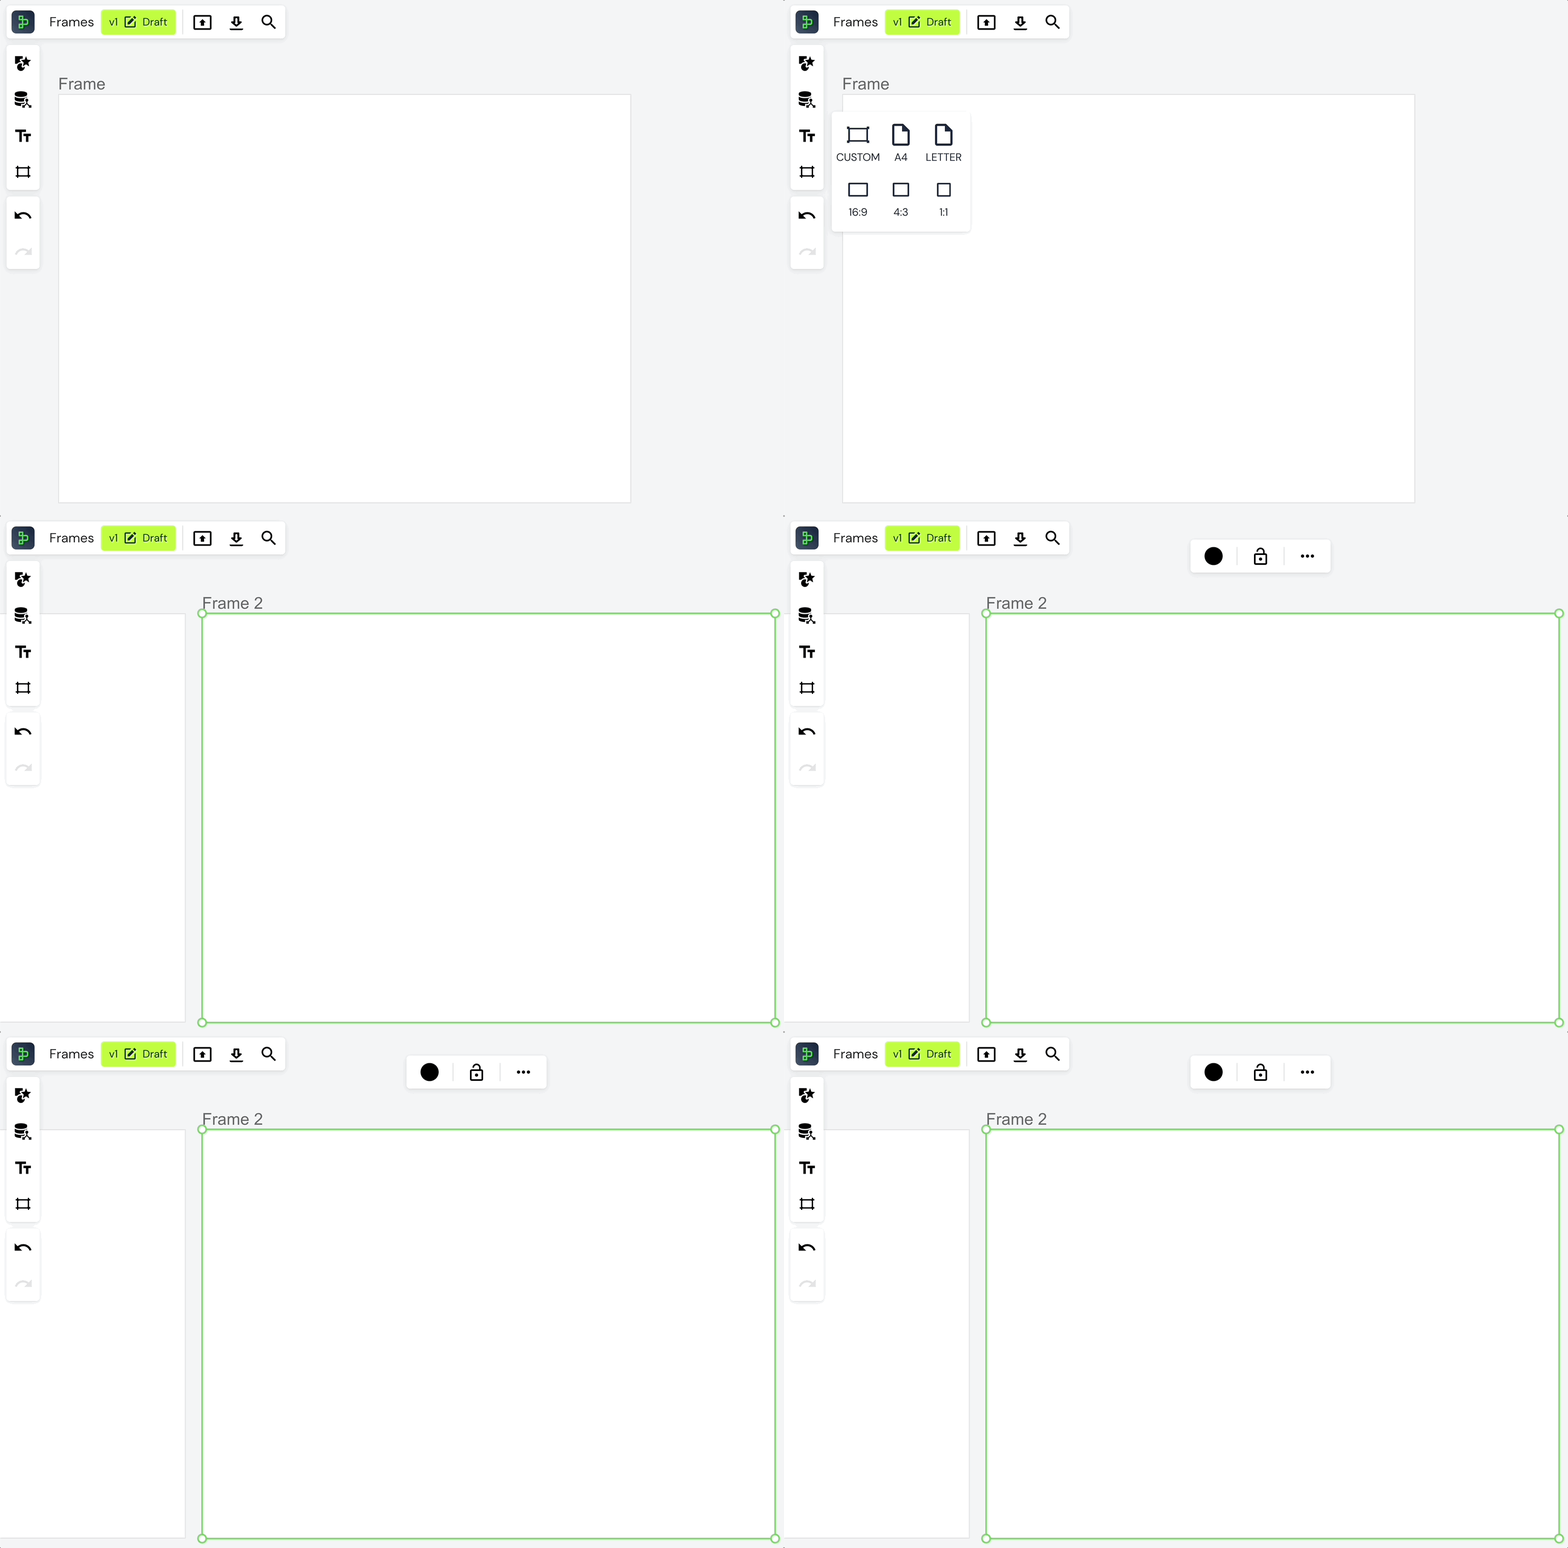
Selecting Frames
To select a frame for renaming, resizing, or other actions:
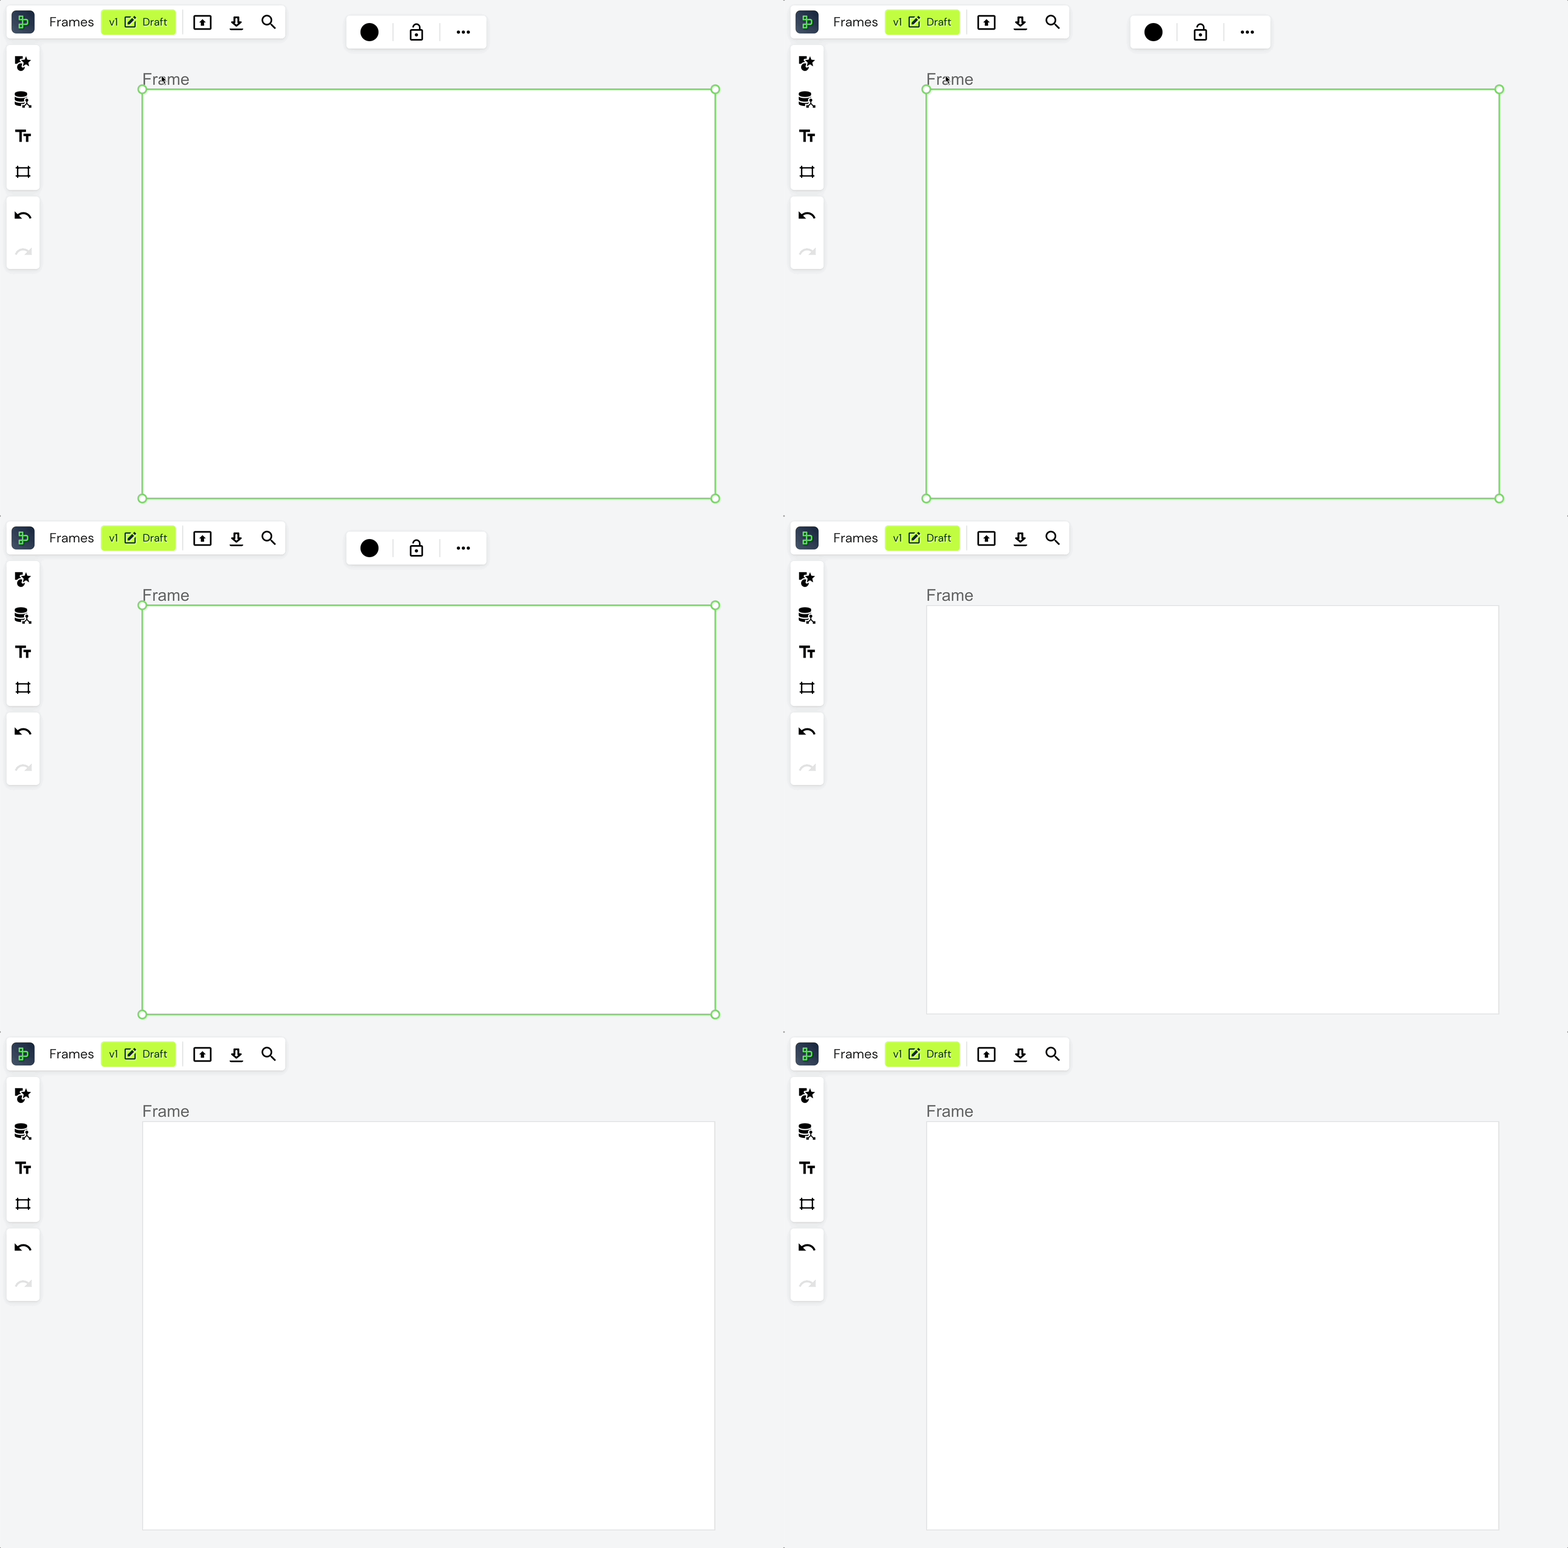
- Click on the frame label.
- Or drag the mouse from outside the frame to select it.
You cannot select a frame by clicking directly on its content area.
Renaming Frames
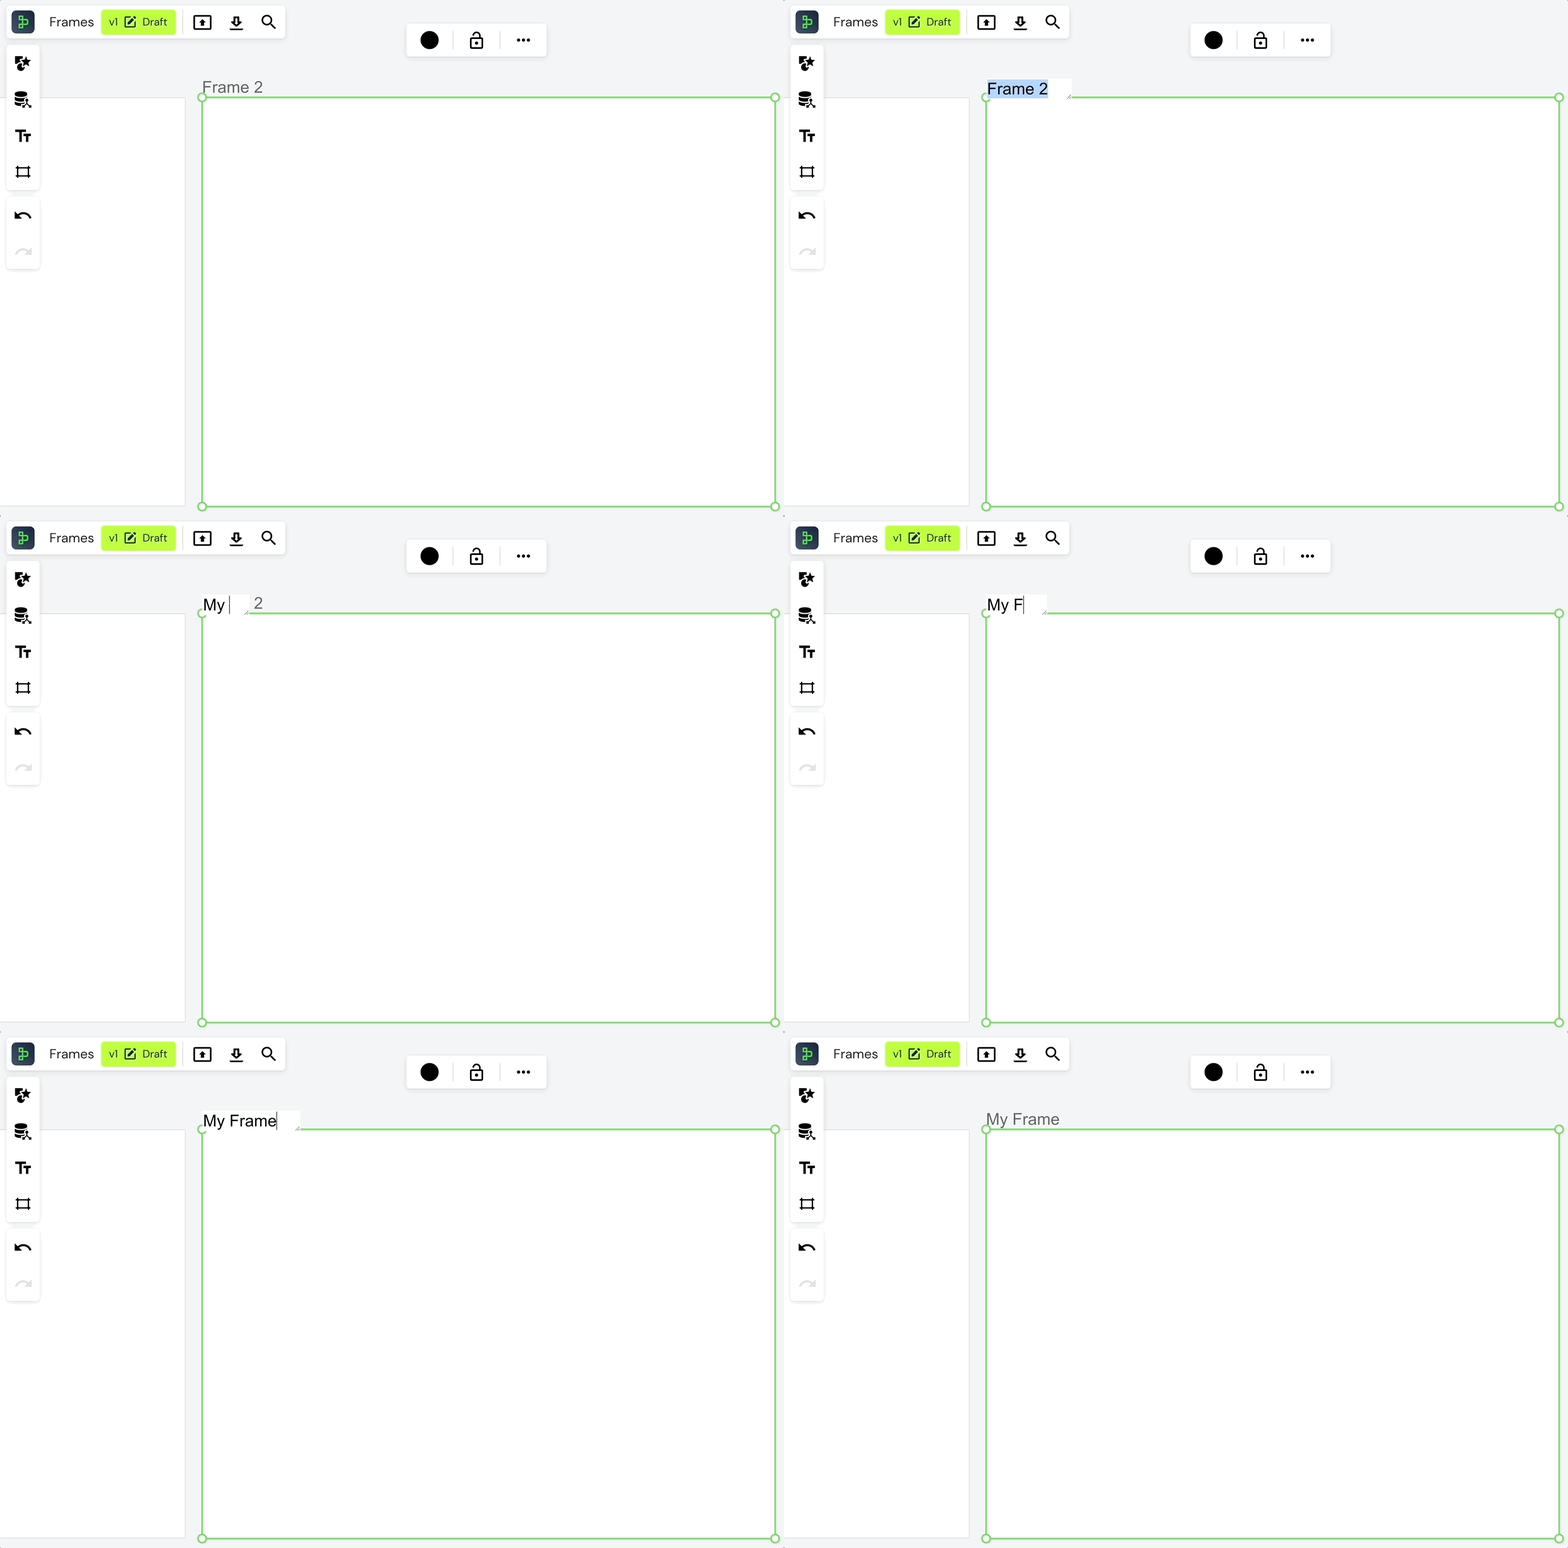
Click on the frame’s label to rename it.
Changing Frame Color
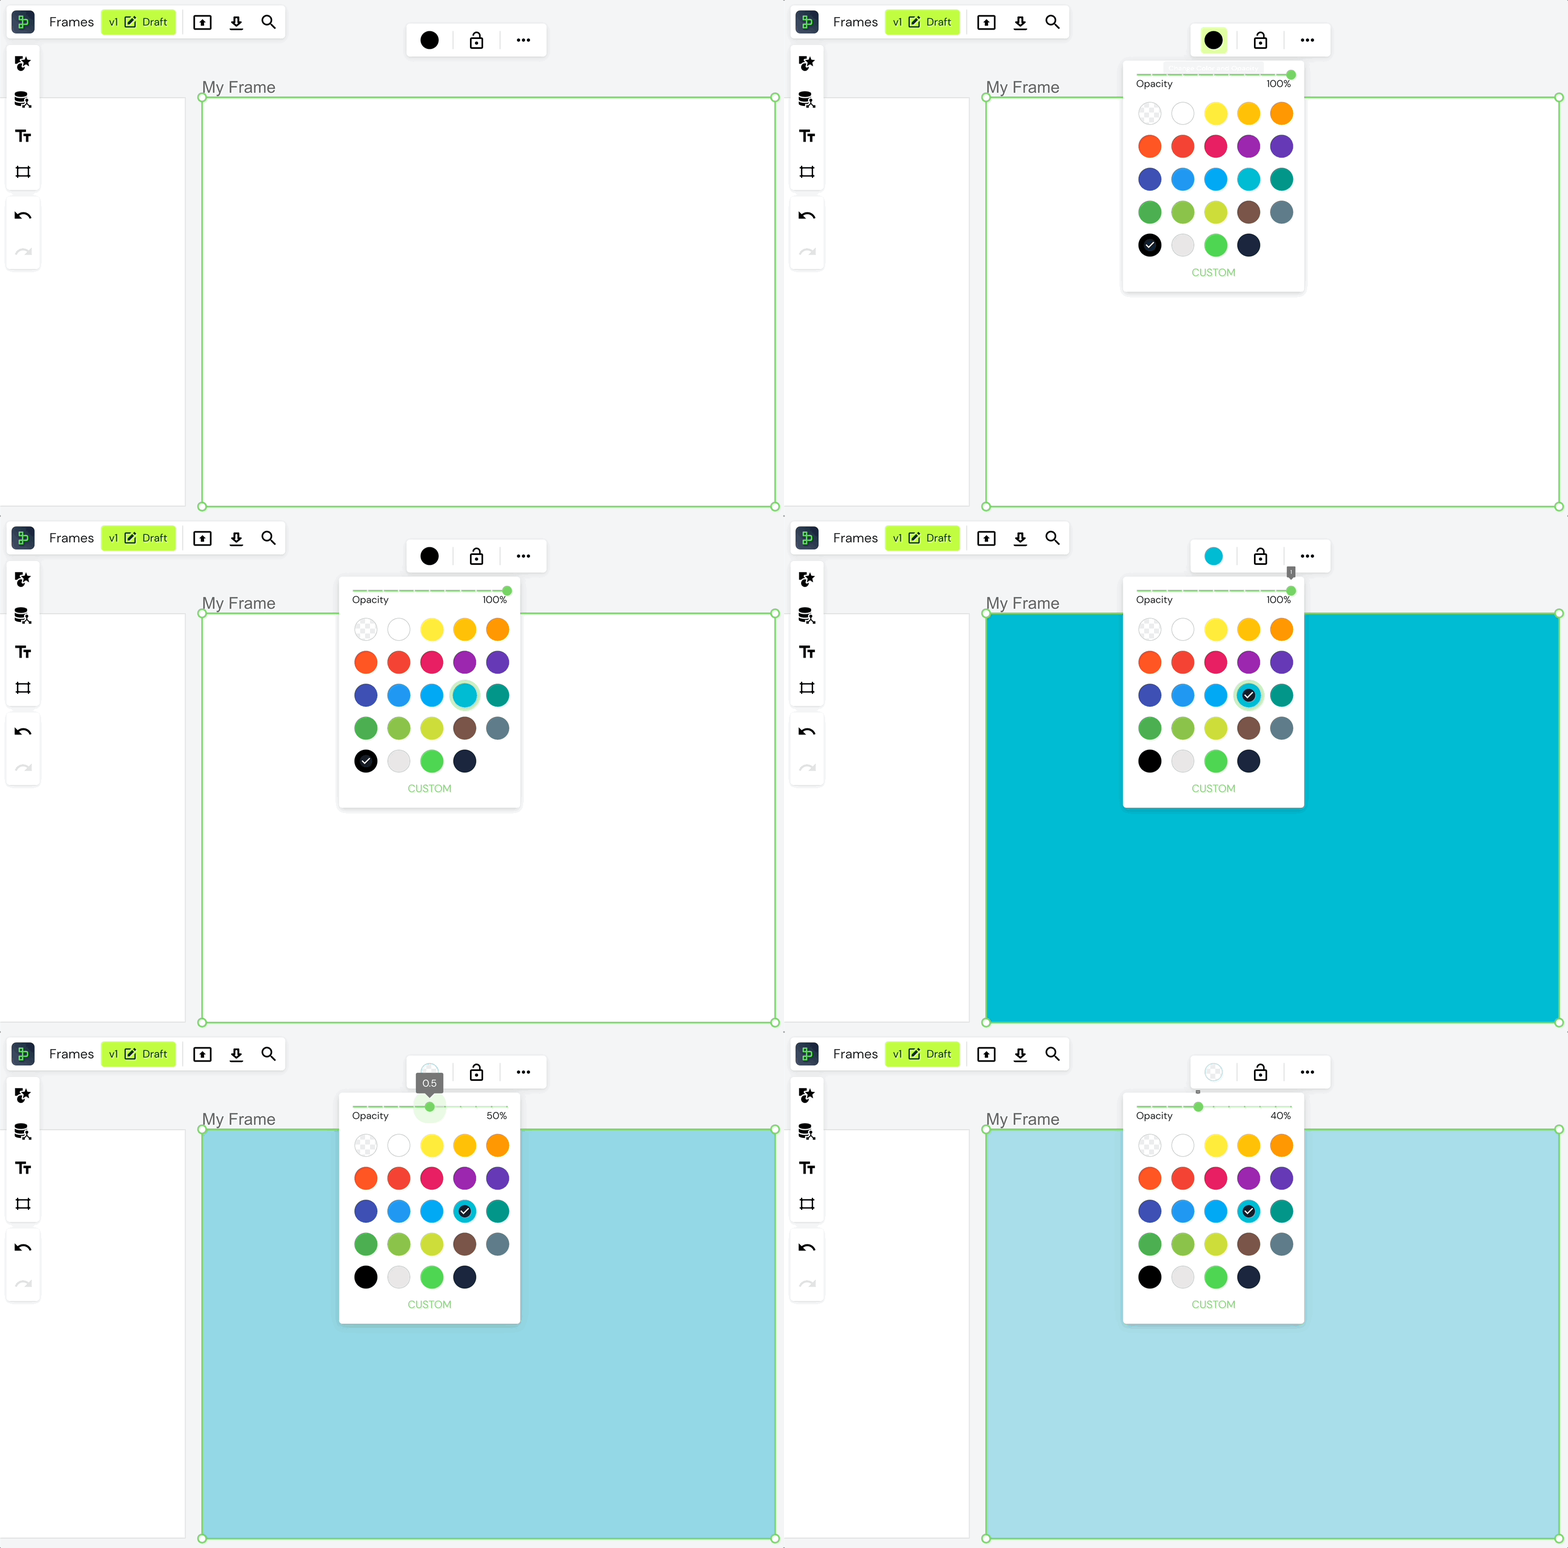
Once a frame is selected, use the toolbar to change its color by clicking the color icon.
Positioning & Resizing Frames
To resize a frame:
- Use the corner circles to adjust its size, or
- Drag from the edges when the cursor changes to an arrow.
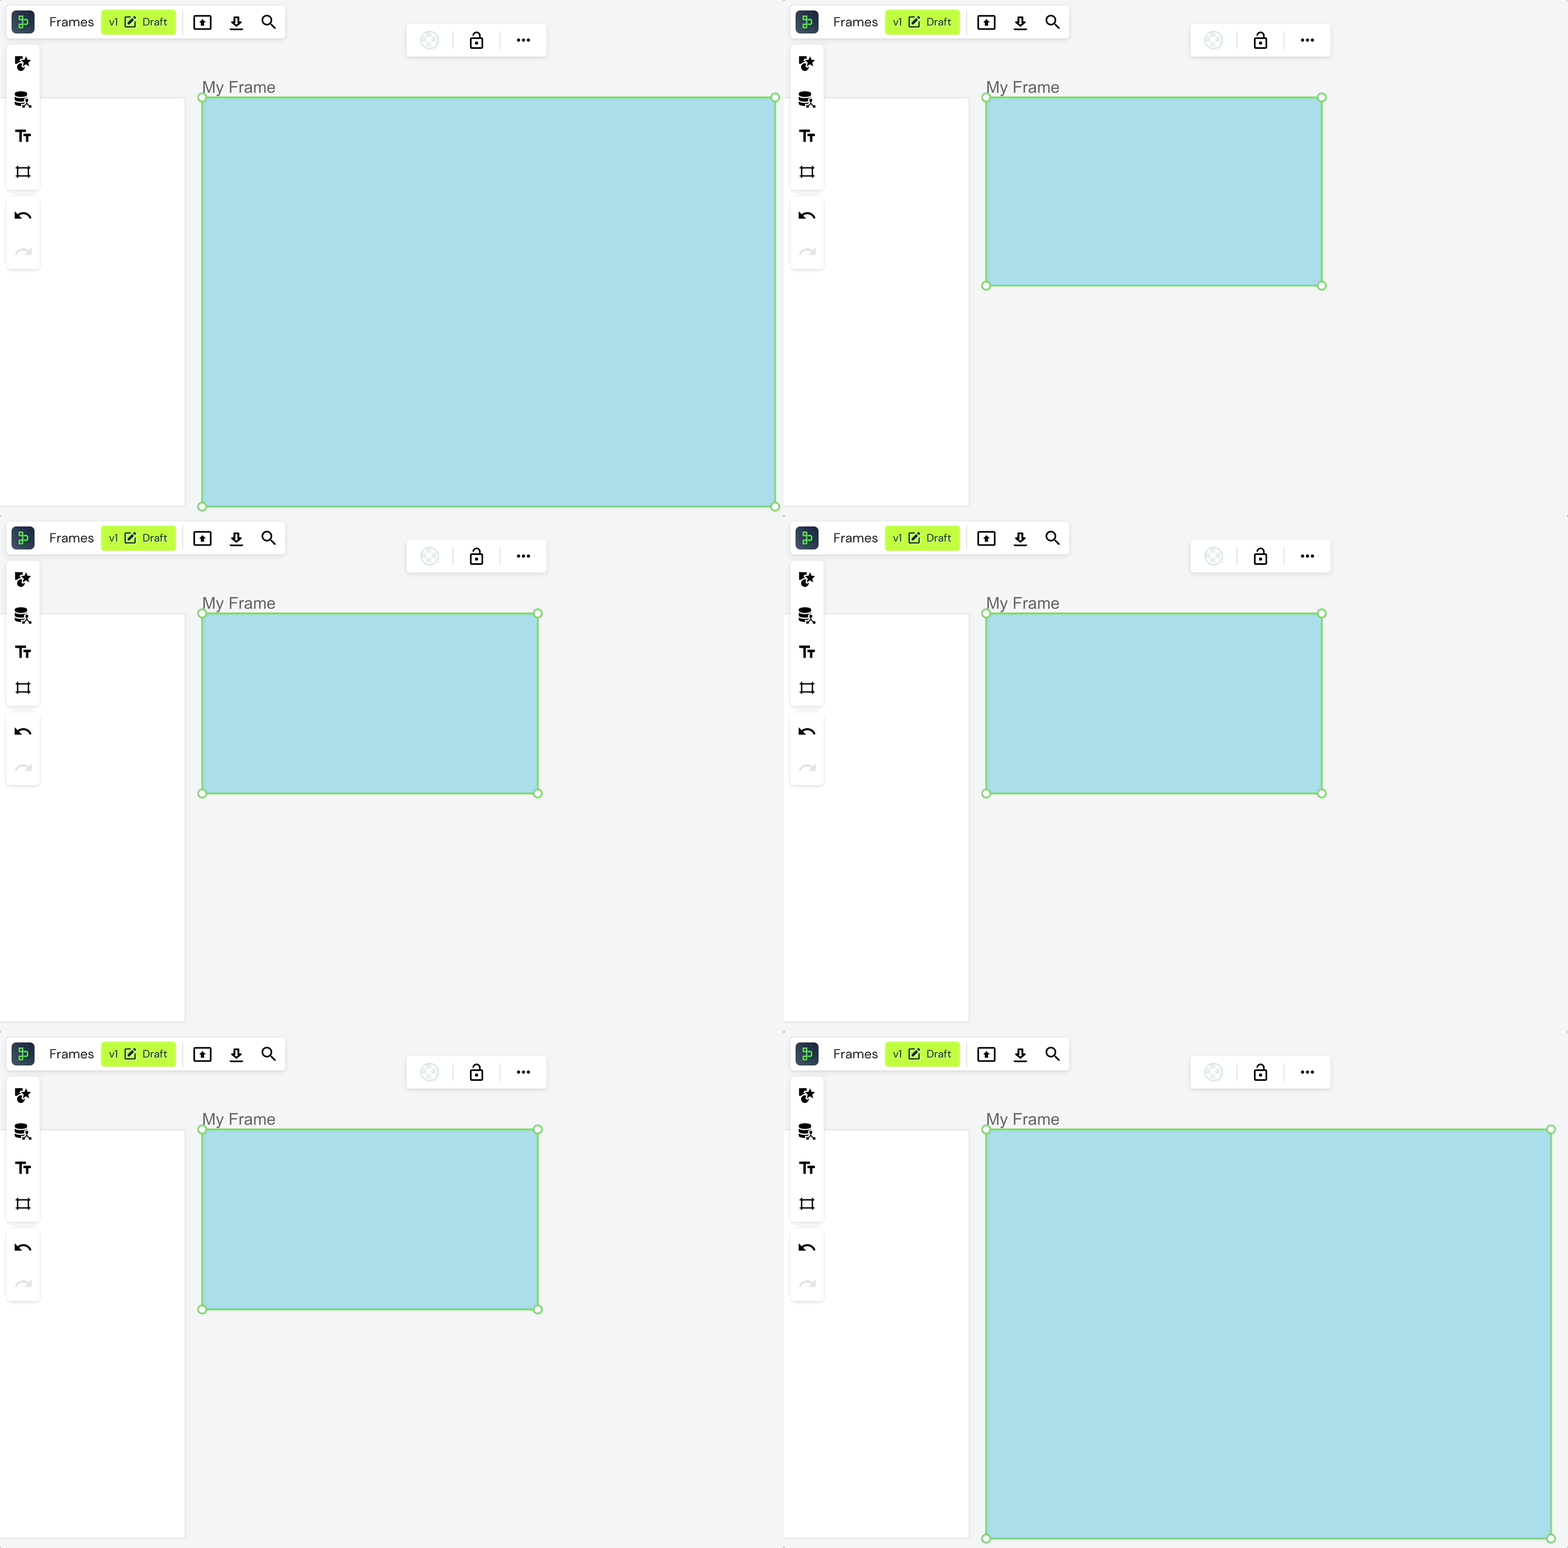
Frame sizes do not automatically adjust to content, ensuring consistency for presentations and exports.
Deleting Frames
To delete a Frame:
- Select the Frame and press Backspace or Delete, or
- Use the Delete option in the toolbar under "... more".
Warning: Deleting a Frame will also remove all its content.
Locking Frames
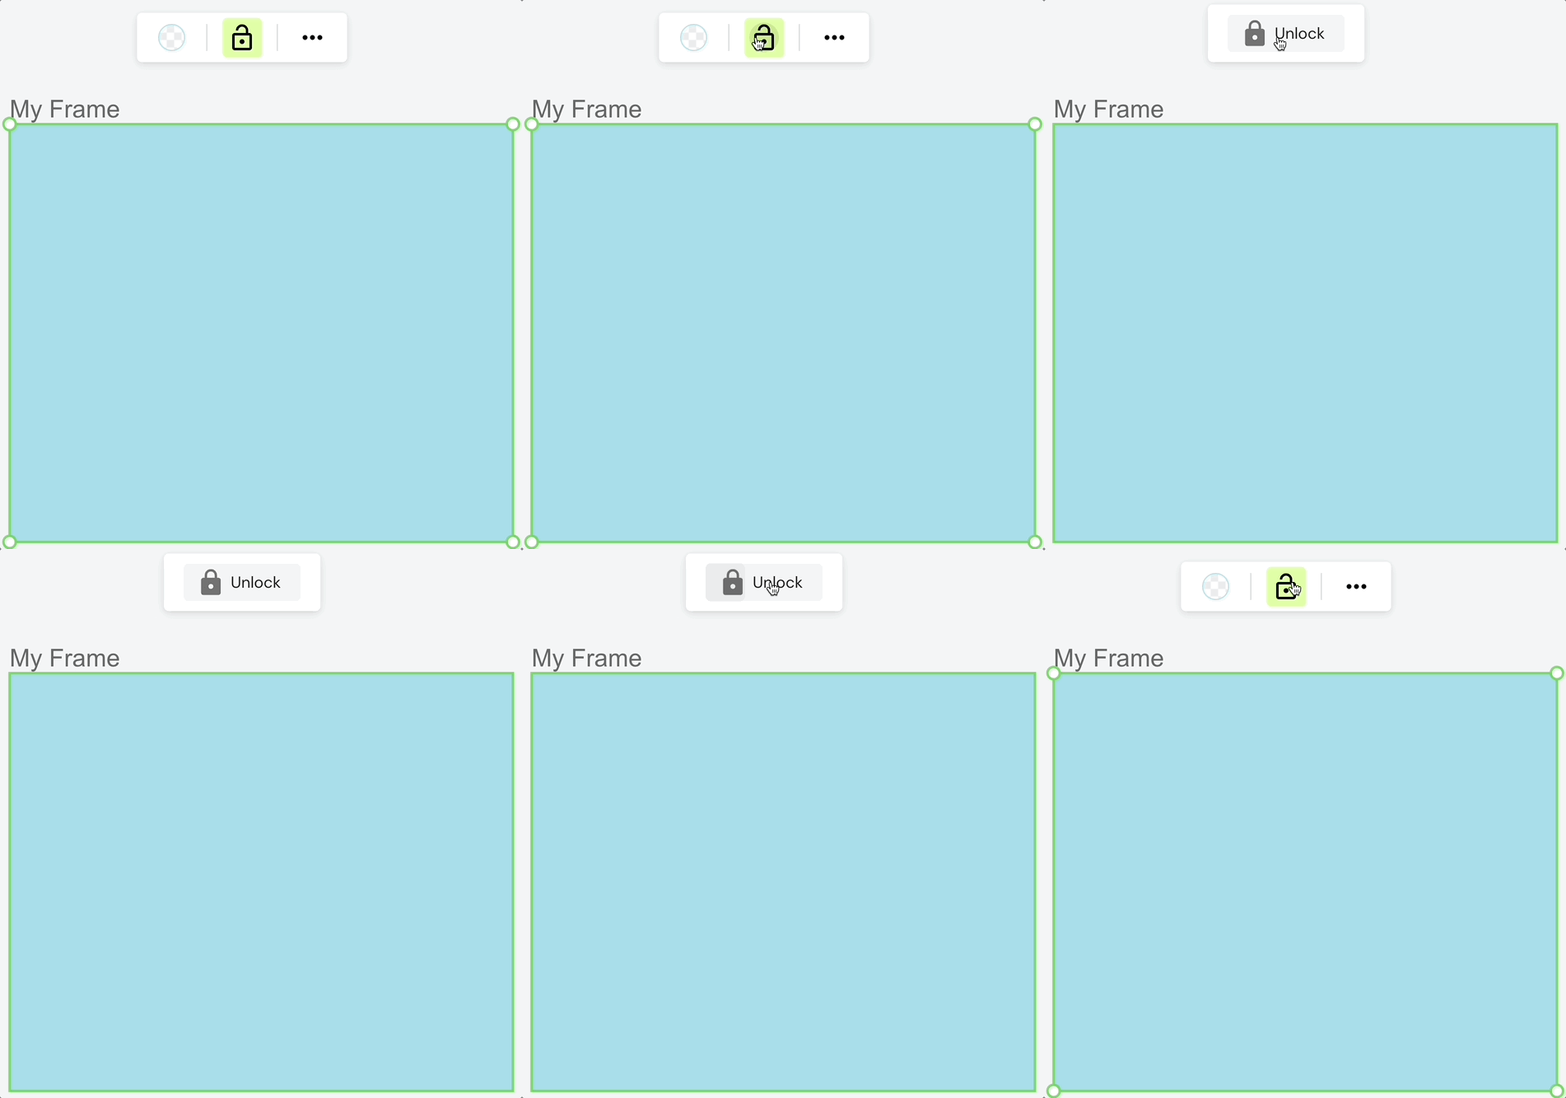
Lock a frame to prevent accidental changes:
- Select the frame or group of frames.
- Use the Lock/Unlock option in the toolbar.
Duplicating Frames
Duplicate a frame by:
- Selecting it and clicking Duplicate in the context menu, or
- Using the shortcut Ctrl/Cmd + D.
Updated over 1 year ago
